Unlocking the Secrets of Vista 100
So, you’ve got your hands on a Vista 100 – that cool little wonder of technology. And now you’re eager to dive into its coding depths and bring your ideas to life.
Don’t worry, it’s not as daunting as climbing Mount Everest (though it might feel like it sometimes!). The Vista 100 is packed with power and flexibility, but it also has a user-friendly approach. This manual will be your trusty companion on this coding adventure.
What Makes the Vista 100 Special?
The magic of the Vista 100 lies in its intuitive programming interface. It blends seamlessly between simplicity and complexity, making it perfect for both beginners and seasoned programmers alike.
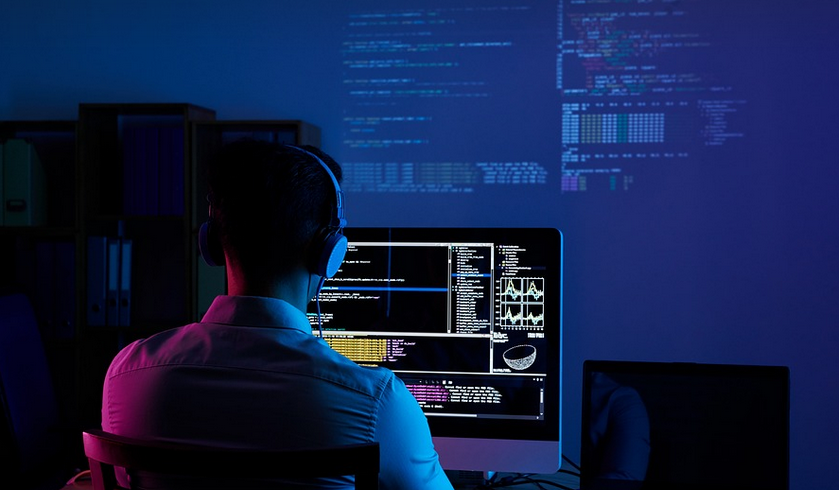
Here’s a peek at some key features that make it stand out:
- Intuitive Syntax: The Vista 100 boasts a clean and readable syntax. It doesn’t demand you learn a labyrinthine language; the coding process feels natural, like speaking to your device.
- Versatile Applications: The Vista 100 is built to handle a wide range of tasks, from basic automation to complex simulations. Whether you’re looking to control a robotic arm or design a game, it can adapt readily.
- Creative Control: The Vista 100 gives you the freedom to shape your own programs and experiences. You’re not bound by pre-set templates; you truly have control over every aspect of your project.
- Powerful Resources: The manual itself is a treasure trove of information, and online resources are always available for those moments of inspiration or when you need to refresh your memory.
Starting Your Journey with the Vista 100
Let’s break down the initial steps before we dive into the nitty-gritties of programming.
First, get acquainted with the basics – understand the different components of the device. This includes getting a feel for its user interface, exploring its various control panels, and understanding the language it uses.
Understanding the Basics
Before we begin coding, let’s get acquainted with the fundamental aspects of your Vista 100. This includes:
- Device Components: Familiarize yourself with the various components of the device – buttons, joysticks, knobs, and screens. Understanding their functions will allow for smoother control.
- Interface Navigation: The user interface is your guidebook to interacting with the Vista 100. Explore its menus, settings, and icons to master how it works.
Now that you’ve laid the groundwork, let’s dive into programming itself! The following steps will help you get started:
1. **Choose Your Language:** The Vista 100 supports a few programming languages. Explore the language options and choose one that aligns with your preferred learning style.
2. **Create an Example Program:** Don’t be intimidated by complex projects; start with simple examples. Imagine coding a system to turn on your lights when you enter a room. This will help you grasp the basic flow of programming and build confidence.
3. **Step-by-step Implementation:** Break down the program into smaller, manageable parts. Think about each function in detail – what should it do? How does it achieve that?
4. **Testing and Debugging:** As you write code, test every function and step within your program. If something goes awry, don’t fret! Use the built-in debugging tools to find the source of the problem and fix it.
“` **Please Note**: This is a basic outline for an informational blog about the Vista 100 programming manual. The content can be expanded upon by adding specific examples, code snippets, and real-life case studies. You can also include information on online resources like forums or communities where people discuss their experience with the Vista 100. Remember to always use proper formatting and ensure your writing is engaging and easy to read!